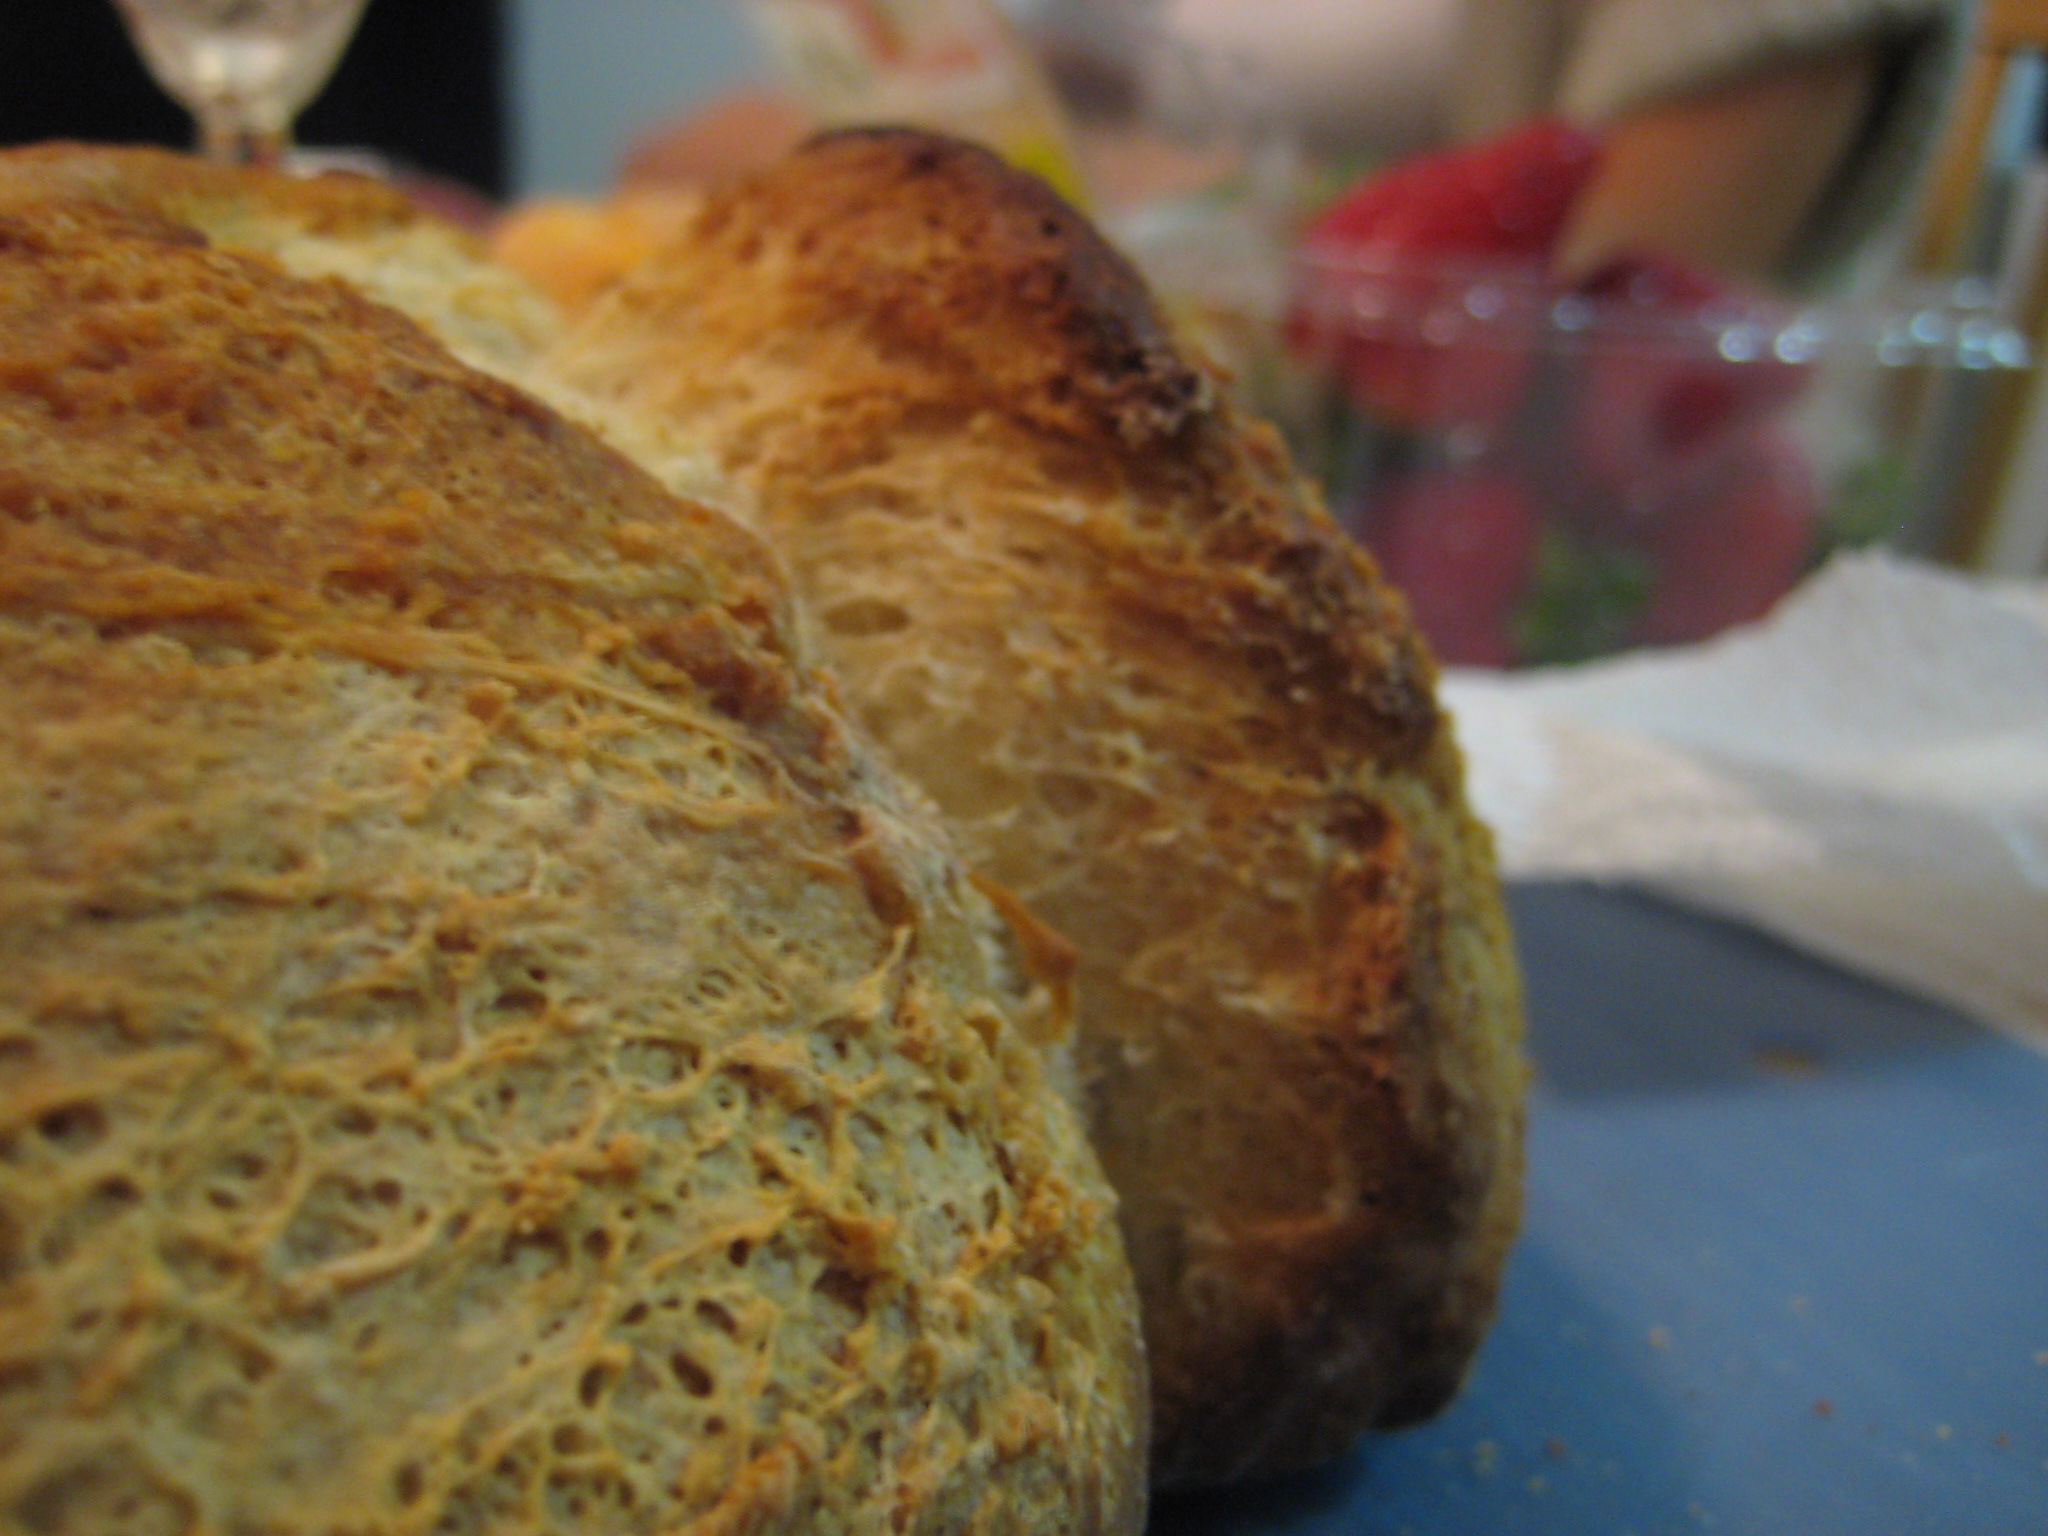
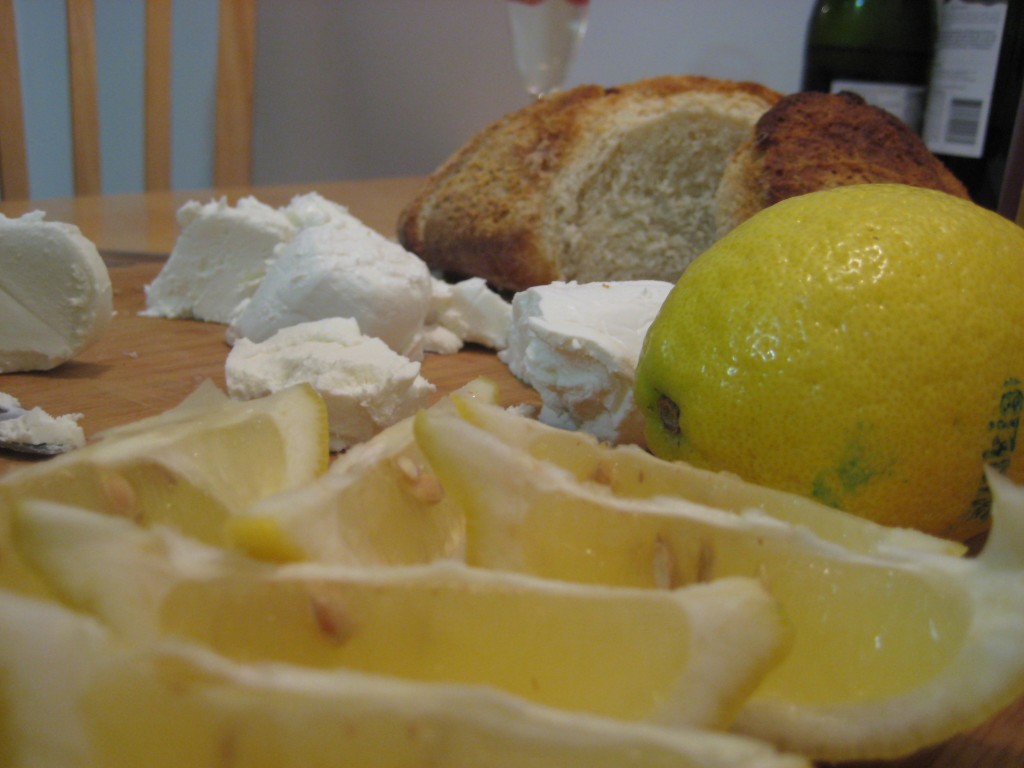
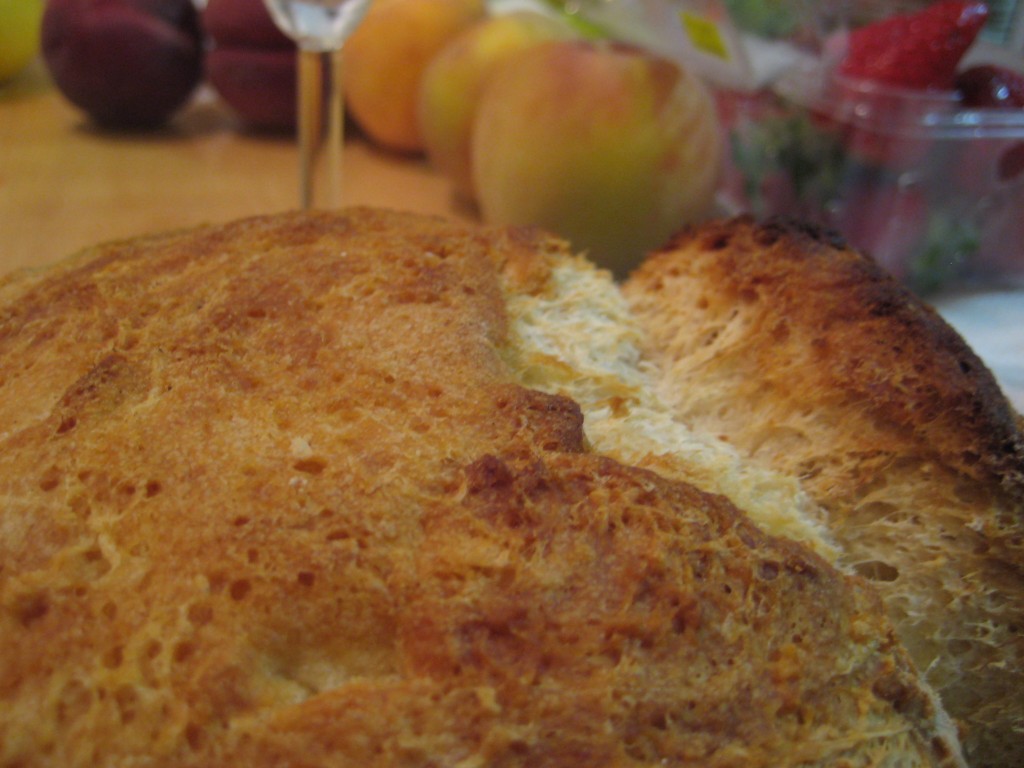
Disclaimer: some may argue that this post has nothing whatsover to do with UJCreative’s typical interests in art, design and general creativity. That’s a fair claim to make. But, the ladies with whom I dined earlier this week insisted on the recipe, and really, who doesn’t love some pictures of tasty, tasty bread?
Not me, that’s for sure.
I would argue that break baking has its creative moments, and requires some level of dexterity similar to handicraft. Most importantly, though, every hostess should have this loaf up her sleeve – and so, I share it here. Click through for more photos and the recipe.
I came across a version of this recipe on an Italian cooking blog at some point in my bread baking history; unfortunately, I can’t remember for the life of me where it was, and all I have left is this post-it:
This is not the original recipe I found; it is inspired by that blog post, but adapted through trial and error to suit my taste and utilize the measuring system and ingredients with which I work regularly. It’s a bit on the salty side, so don’t hesitate to start out with a bit less salt. If you’re eating it with goat cheese and honey, as we did this week, or just dipped in olive oil as we usually do, the saltiness is a welcome addition. The best features of this bread are its relatively quick rise time, its very basic ingredients and its delightful, impressive crust.
Ingredients:
- 1 1/2 cups warm water (too hot will kill the yeast!)
- 1 tablespoon salt
- 2 teaspoons granulated sugar (I have also used turbinado successfully.)
- 2 1/2 teaspoons active dry yeast
- 4 cups white bread flour, plus a bit more on hand for kneading as necessary*
- corn meal for baking
- 1 tablespoon olive or canola oil, to coat
*Bread flour is ideal for this application not just because we’re baking bread, but specifically because it has a higher gluten content that allows all of those delicious yeasty bubbles that form when the bread rises to stay intact through baking, giving you those delightful nooks and crannies when you slice into your loaf. You can substitute white all-purpose flour, and it will still be delicious – just expect a denser crumb.
Method:
- In a large bowl (such as that on your Kitchenaid, if you are so blessed), dissolve salt and sugar in warm water. Sprinkle yeast on top of water, and allow to stand until foamy, about five minutes.
- Add flour. If using a stand mixer, use dough hook to mix, and allow to knead for eight minutes. If the dough is not pulling away from the sides of the bowl, gradually add a bit more flour until it does. By hand, gradually add flour to yeast mixture, using a wooden spoon to combine. As the dough comes together, turn it out onto a lightly floured surface and continue to knead for 10 minutes. The dough should still be soft and slightly sticky, but smooth and elastic.
- Pour a bit of oil into a large, clean bowl. Turn the dough in the oil to coat, so it does not stick to the bowl as it rises. Cover the bowl loosely with a damp towel, and allow to rise for at least one hour (it should nearly double in size) in a warm, draft free place. I use my oven for rising – just be sure not to turn it on! If you’re baking the bread immediately, continue now; if you would prefer to bake it the next day, you can place the entire bowl into the fridge and allow it to develop further overnight. Bring dough back to room temperature before baking.
- Heat oven to 450 degrees (F). On a large baking sheet, sprinkle a bit of cornmeal – this will keep the bread from sticking to the baking sheet.
- Turn the entire bowl of risen dough upside-down over the baking sheet to transfer. This is best done quickly and with minimal fuss, so as not to deflate the dough. The oiled bowl should let the dough slide out and onto the baking sheet fairly easily; if it sticks, give the bowl a little shake to loosen the dough. Avoid prying the dough out with utensils or fingers, as this will result in a denser loaf.
- Bake until golden brown, about 40 minutes. The loaf should have a hollow sound when you tap on the bottom. The excess cornmeal usually smells a bit burnt at this temperature; do not be alarmed.
- The hardest part: allow bread to rest for at least 15 minutes before slicing! If you’re impatient, a crumbly mess will result.

Enjoy!


Hmmm…looking at your wonderful bread is making me think I should make some of your soft pretzels for one of our gatherings this weekend…or perhaps both!
You make me want to try this recipe!
Pingback: Union Jack Creative – Friday Fancies