
I’ll admit a love affair with quality, wool felt. It’s so forgiving, so easy to work with and much more durable than its polyester, craft project counterpart. Seemingly ages ago, I came across a tutorial from a book by Anne Kyyrö Quinn for making a “pillow with rosette clusters”, and vowed to make my own. When we moved to Fort Hill and I set about making pillows for our couches, I only had square pillow forms on hand; Anne’s design featured a long, narrow shape.
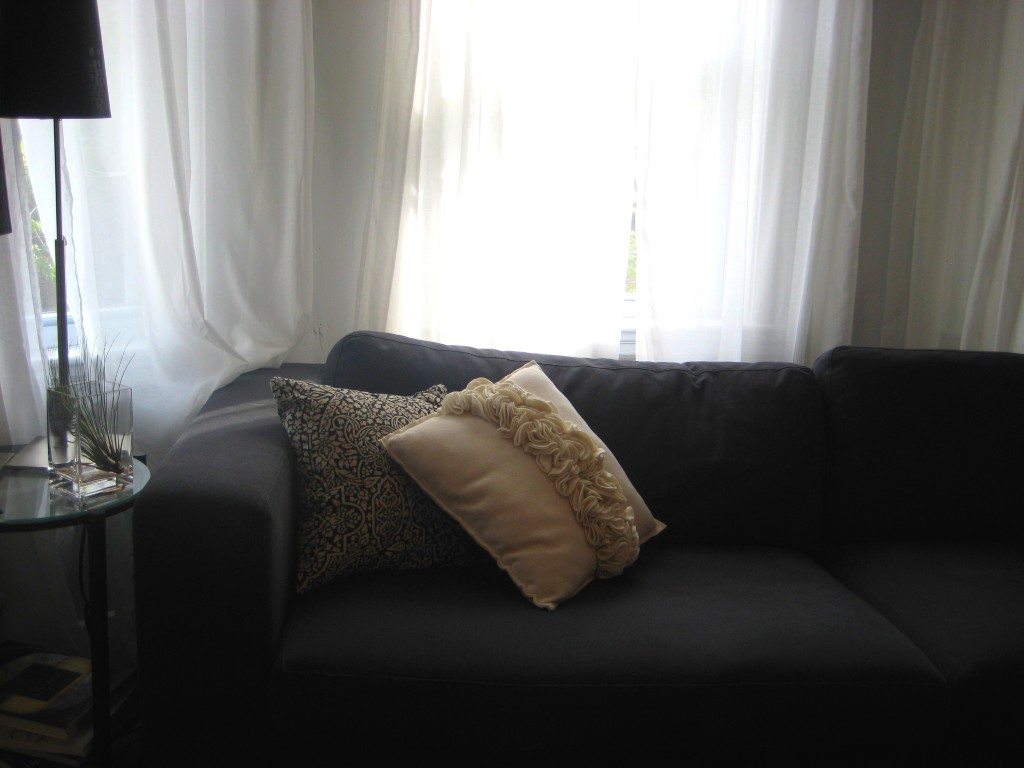
I used Anne’s guidelines, and adjusted the process to create the square pillow shown above. Despite Jack’s initial dislike, it has become quite popular among guests to our apartment, and many have asked me to share the details of my method. Ximena, this how-to’s for you!
The size of your pillow form will determine the dimensions of your fabric. All told, including ruffle pieces, I used less than a yard of wool felt for this project. To be sure the pillow is filled out completely, you’ll want to take at least one inch off of each pillow measurement to cut the base squares. Since my pillow form was 16″x16″, I measured and cut two 14″ squares to serve as the base of my pillow.
Once you have your base squares, decide how wide you would prefer the strip of ruffles to be on your pillow. Measure from the center (if symmetry is your thing), and mark the boundaries of your ruffle area lightly on one fabric square.
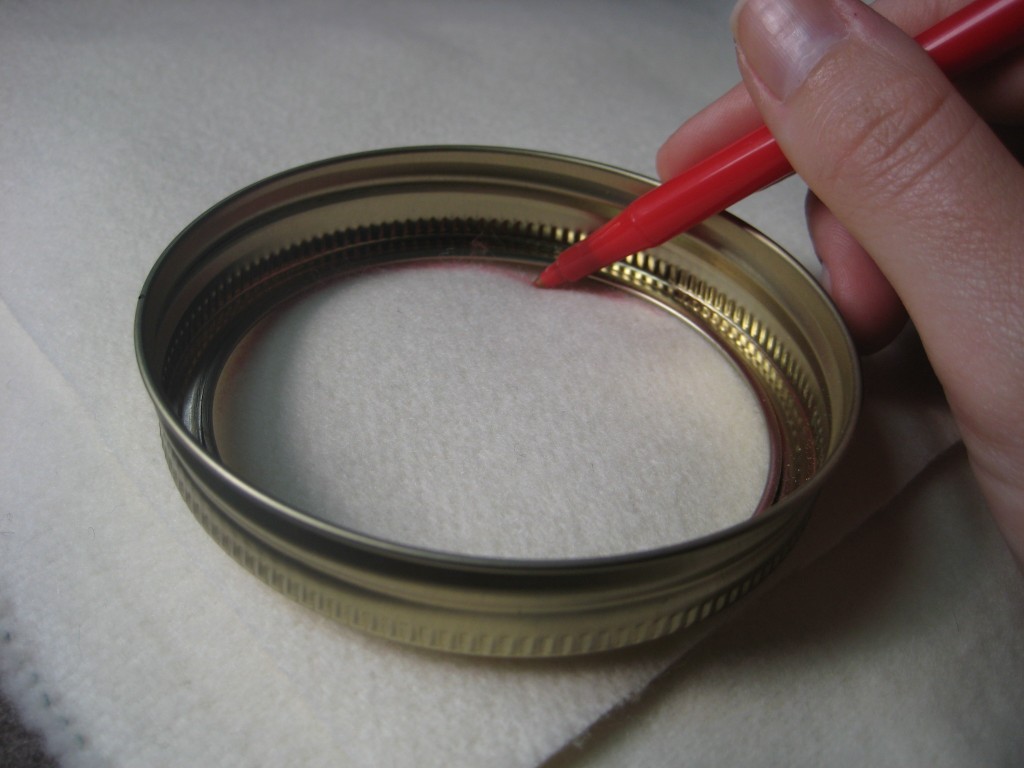
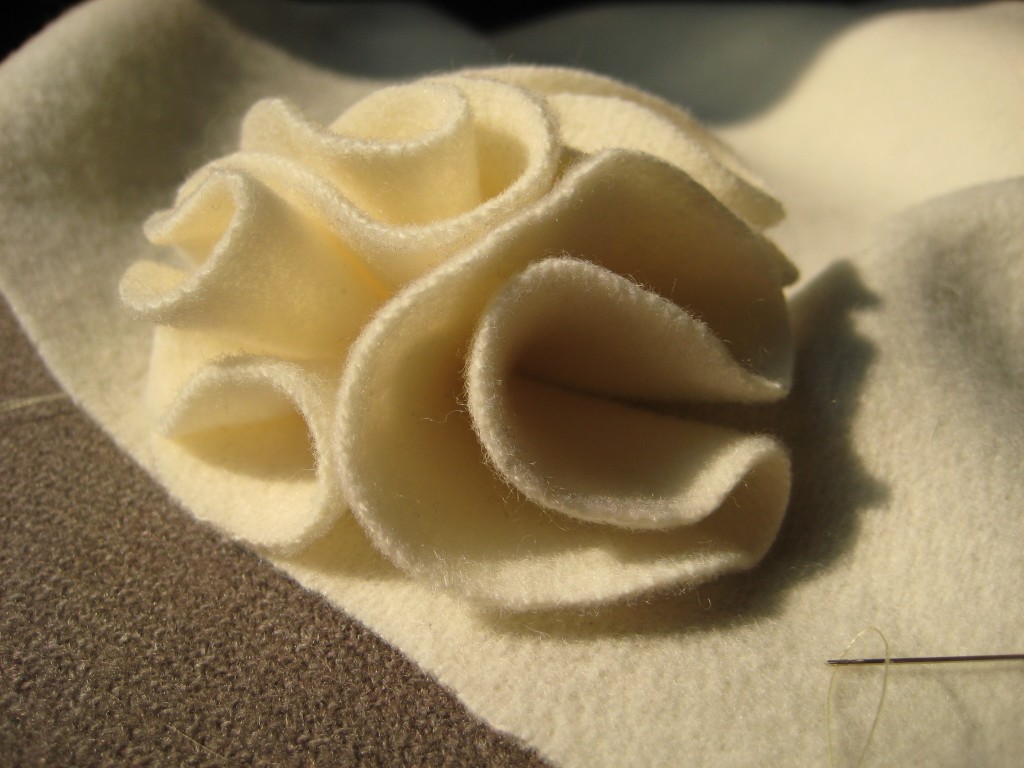
Next, the circles. Each circle will be folded into quarters to form the ruffles on your pillow, and you’ll need a lot of them. I cut about 100 circles at the start, and though I didn’t use all of them, your usage will depend in part on the spacing you’re comfortable with. Find a small, circular form to make the process easier (my wide-mouth mason jar lid yielded circles roughly 3″ in diameter), and trace it repeatedly onto your fabric. Cut out the circles.
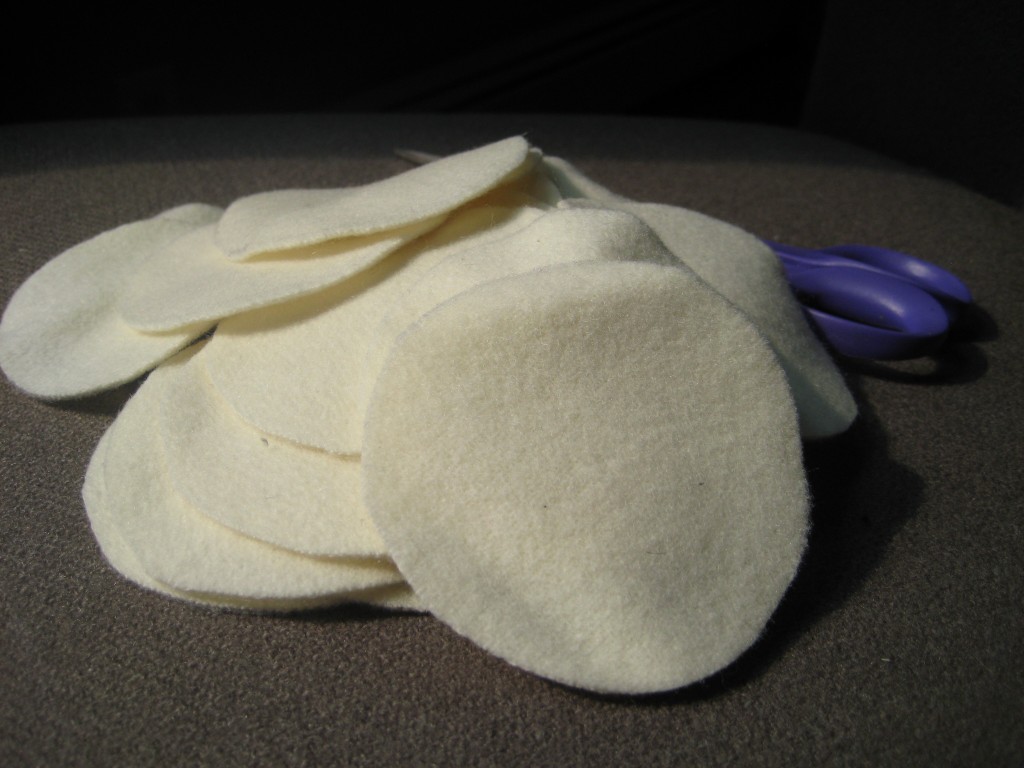
Once the felt circles have been liberated, you’re ready to begin assembly. The basic process involves folding each circle into quarters to form a rosette, and stitching it to the marked base square.
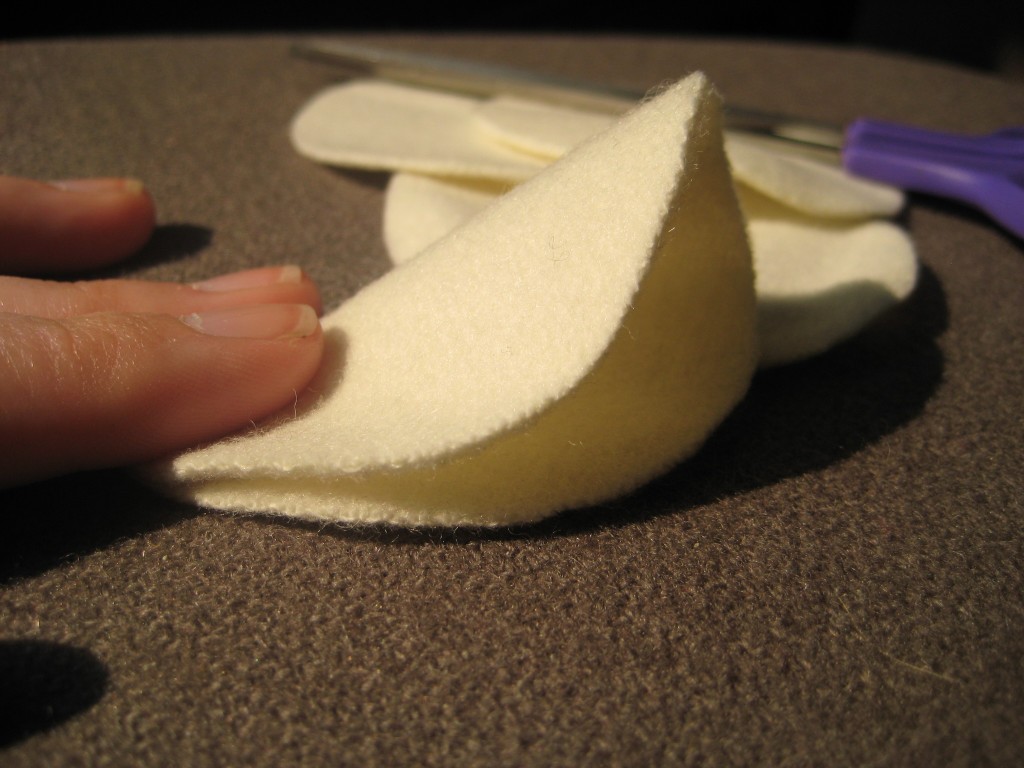
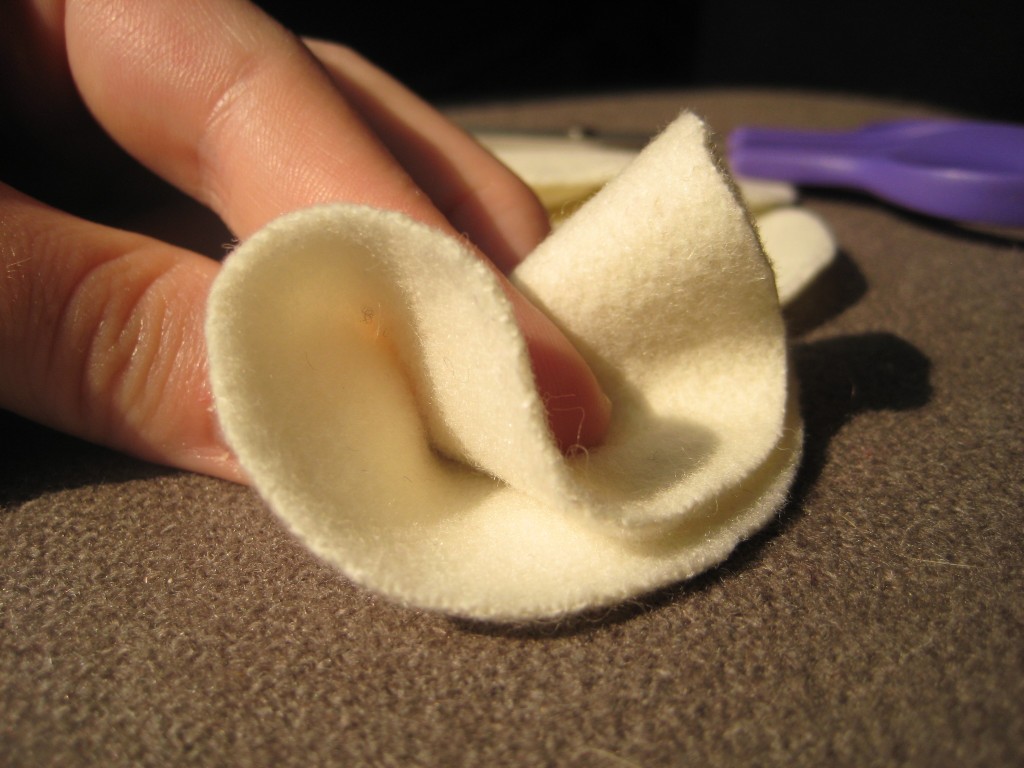
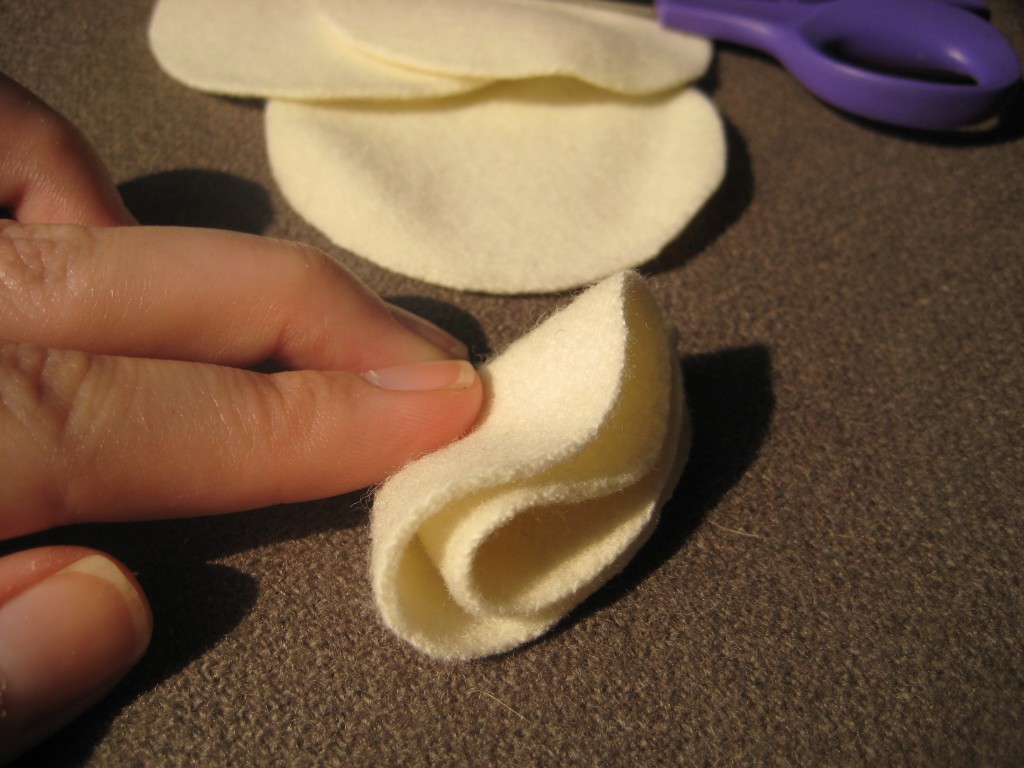
Stitch as closely to the tip of the rosette as possible while being sure to catch each of the four layers of fabric – this will ensure that the rosette will hold its form on the pillow.

As you form rosettes, begin sewing them to the base square. Begin an inch or so away from one edge, so that you have space to finish the pillow. Align the rosette tips very close together, so that the ruffles are packed tightly and stand upright. Keep your stitches fairly small, to minimize puckering and keep things snug.
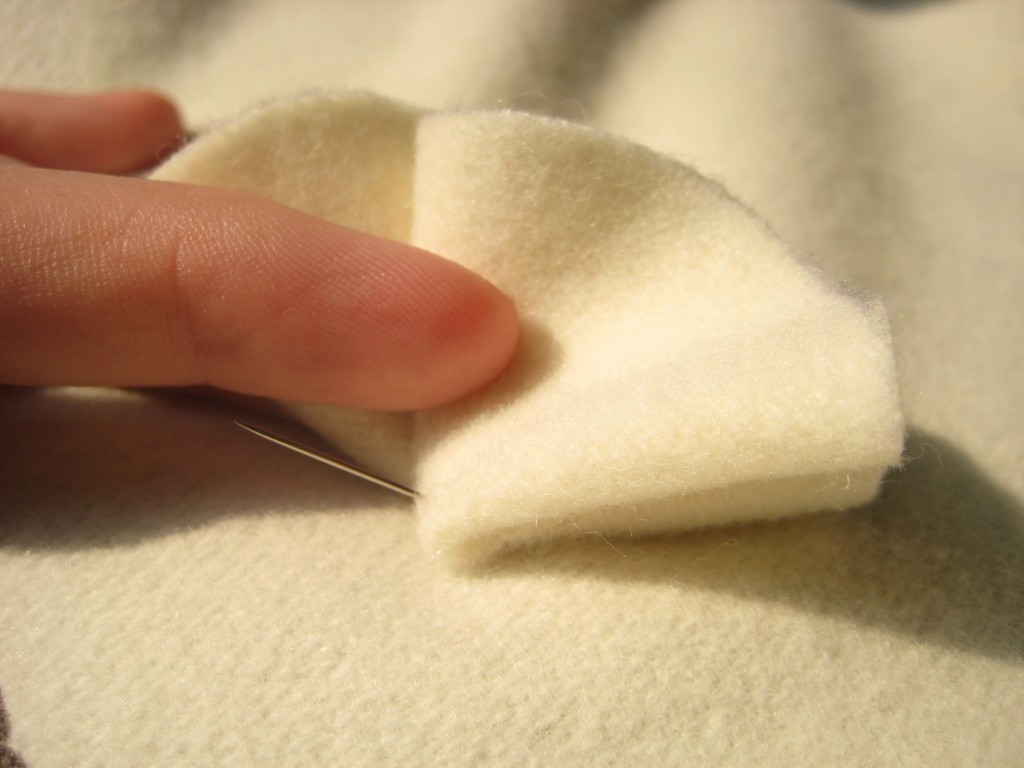
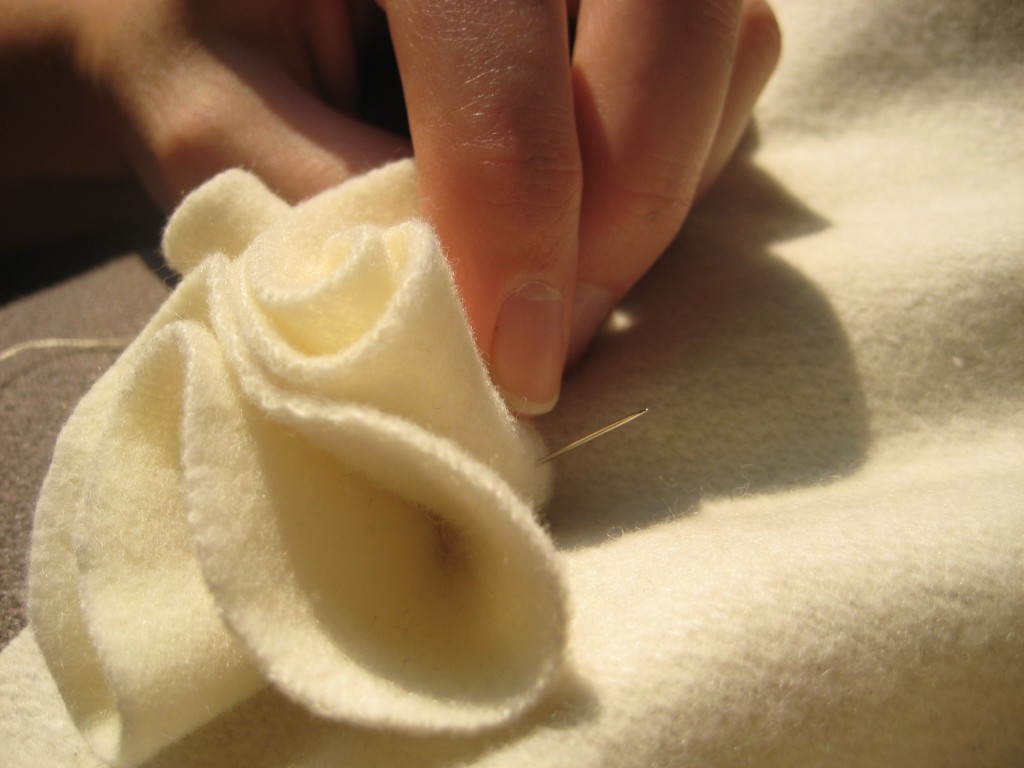
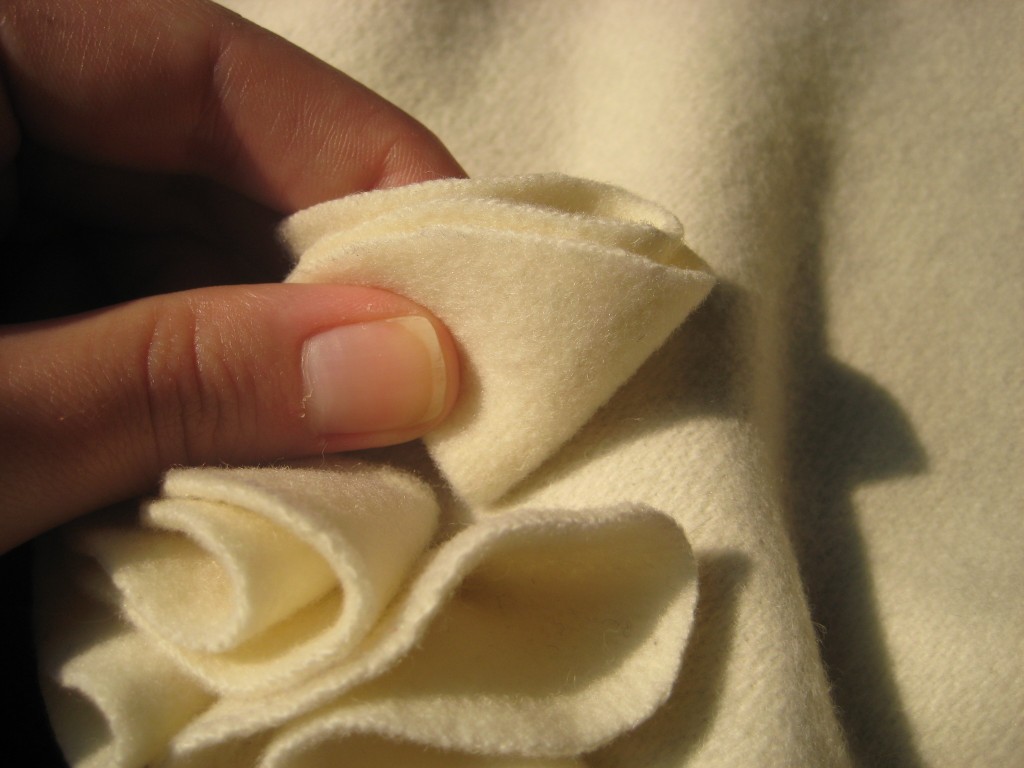
After just a few circles have been sewn to the base, you’ll start to see a little puff of felt ruffle take shape. Continue filling in the boundary lines marked on the base square with folded circles, taking care to keep things close together and working systematically; jumping back and forth between sections will complicate the process and increase the risk of puckering.
Once you’ve finished your ruffle stripe from end to end, gather your pillow form and back square. At this point, if you’re confident in your sewing abilities and willing to spend the extra time, you could opt to insert a zipper so that the pillow could be removed for easy cleaning. I decided that the project was quick enough that I would be willing to restitch should I need to launder my ruffles.
Felt will not fray, and as such does not require any fancy tricks to finish. Simply sandwich your pillow form between your ruffled front square and plain back square, and neatly stitch the four edges. Do not stitch through the pillow form itself – only through two layers of felt on each edge, enclosing the pillow form within the felt cover.
It’s important to note that you could also make this pillow without a pillow form, using loose stuffing instead. Simply follow the same ruffling process, but stitch three and a half of the four pillow edges together before pausing to stuff the pillow, and finish the seam.
Et voilà! Your pillow is complete.
Please do keep in mind – the inspiration and initial design for this pillow came from a project in Anne Kyyrö Quinn’s book, Felt Furnishings, that was featured in Etsy’s How-Tuesdays. Anne’s book is one I would love to check out myself; if my variation on this project inspires you, you should read more about Anne’s work too!


Pingback: Tweets that mention Union Jack Creative – Getting a Feeling for Felt -- Topsy.com
Pingback: Union Jack Creative – Friday Fancies
Pingback: Diy throw pillows…updating our “look” | lilybuttondesign
Pingback: Union Jack Creative – House and Home