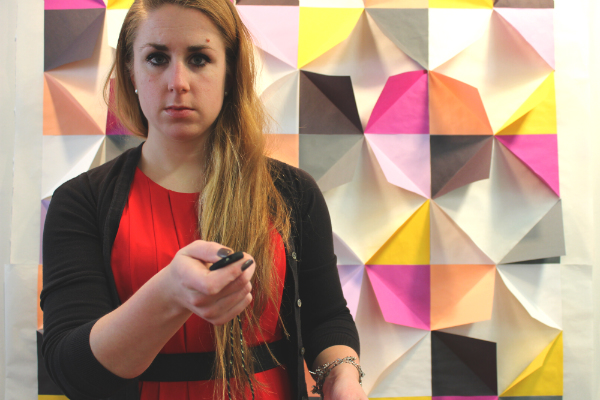
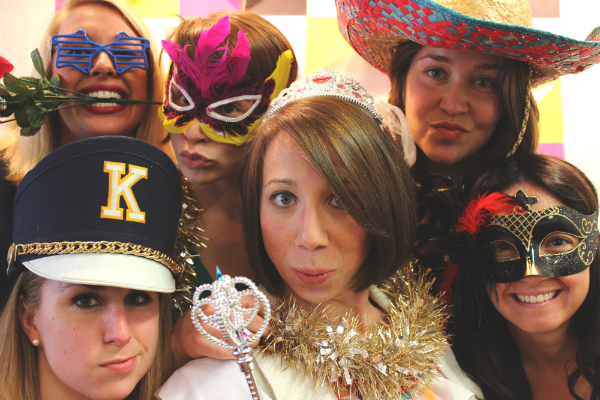
This weekend, one of the surprises I was responsible for in Pennsylvania was the bridal shower photobooth. With all of the photo fun we have at New Years every year, I knew it would be easy enough to set up, and offered to do so as a bonus shower activity that didn’t involve making gowns out of toilet paper.
I shipped a box of props to my parents’ house so that I wouldn’t have to fly in a sombrero, and decided on a backdrop that could be assembled inexpensively in PA and hung directly on the wall, so that the only equipment I needed to travel with was the camera, remote and tripod.
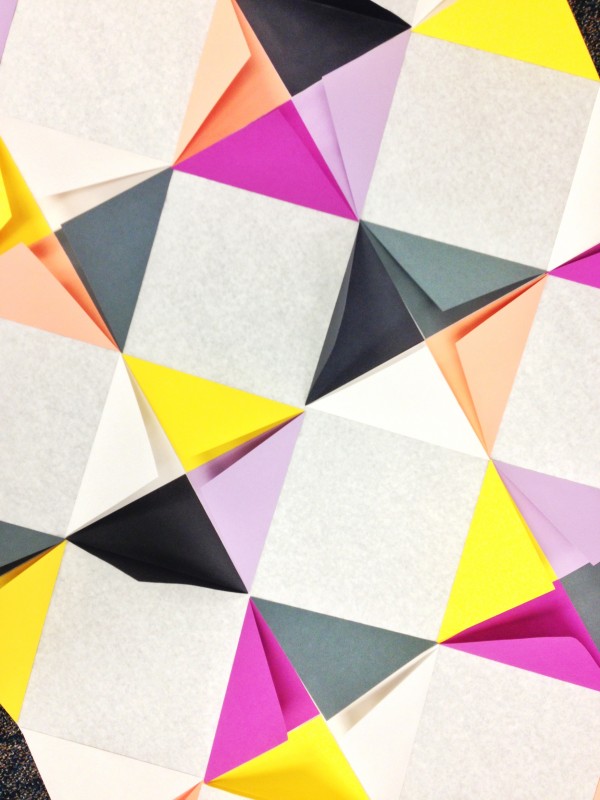
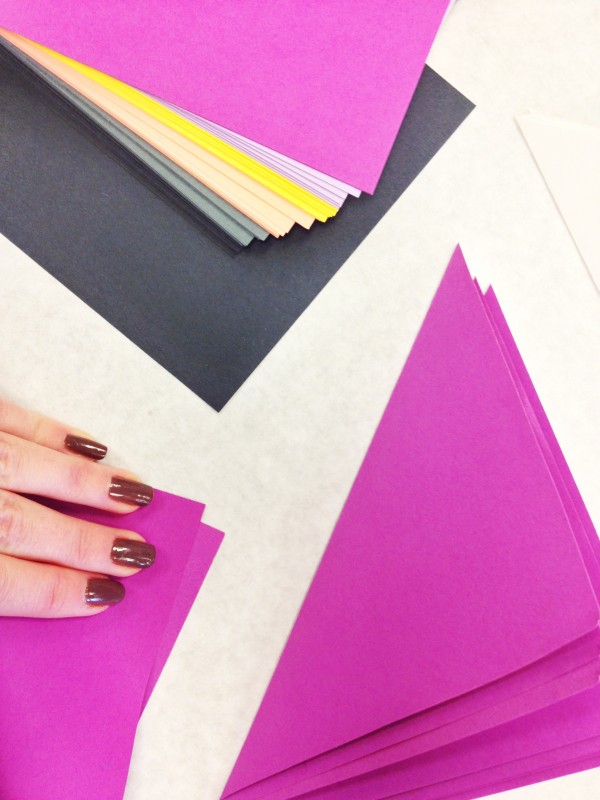
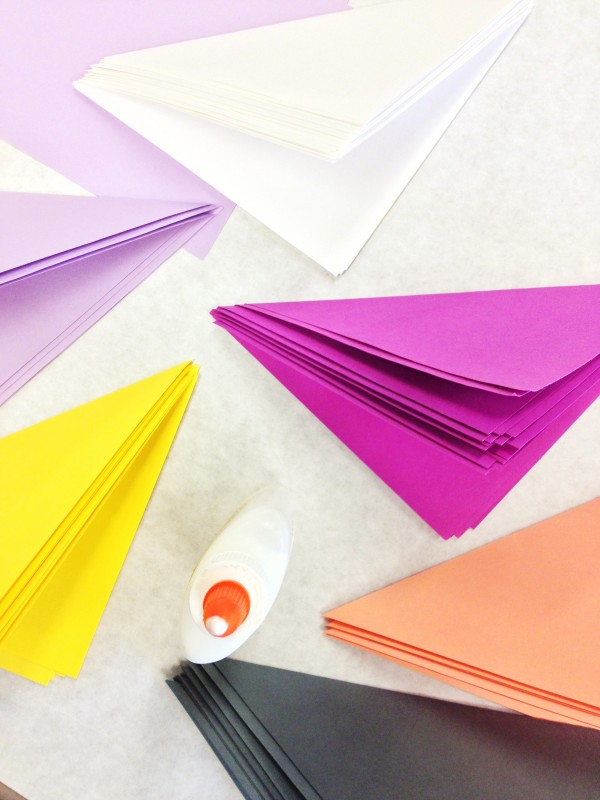
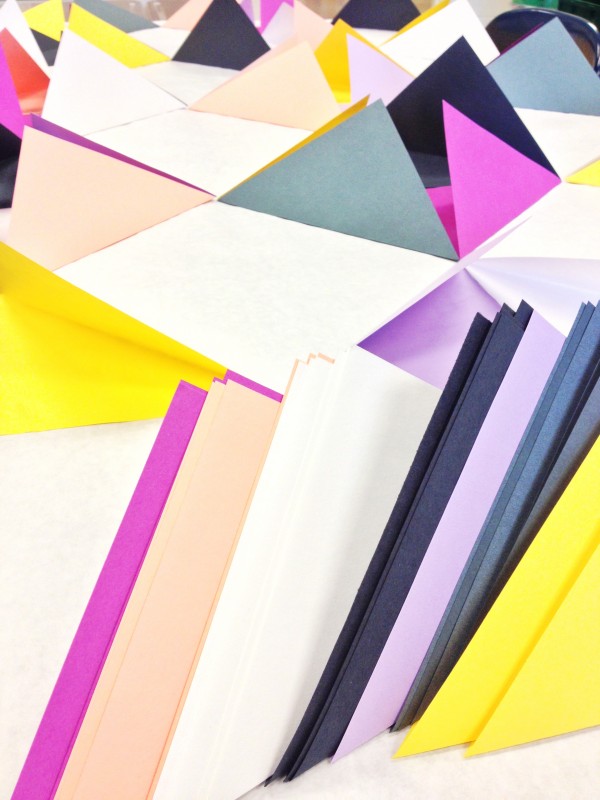
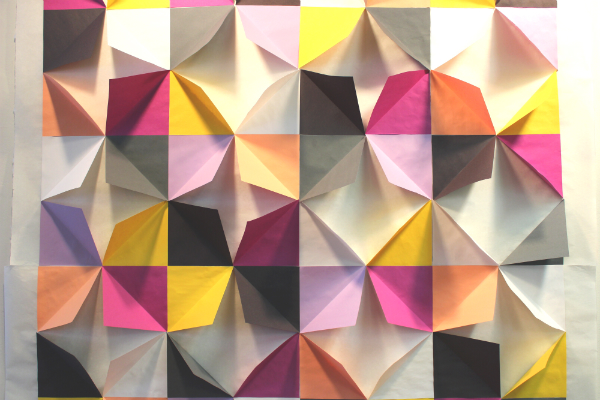
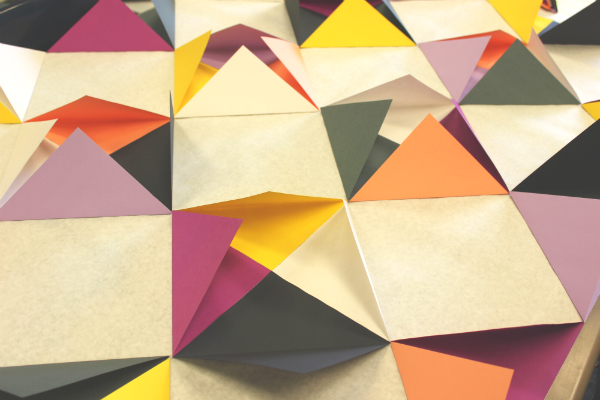
This time around, I based my backdrop on this project from Martha Stewart. In my opinion, her instructions make this much more complicated than it needs to be: all you need to do is cut 6 inch squares of colored paper (preferably something with a bit of heft; I used construction paper), fold them in half diagonally and afix them to your backdrop surface.
You could tack the squares directly to the wall, or glue them to large sheets of paper as I did to make it easier to transport and faster to set up.
Once you have your squares on the wall, unfold them all a bit so they create a shadowy effect in the center of each cluster. This particular effect works best with at least seven colors.
Photo booths are arguably old news at this point, but I’ll admit I still can’t get enough – they’re always a good time, and a great way to get pictures from an event without having someone dedicated to photo duty. There are plenty of businesses and photographers who can set them up for you for a fee, but if you’re looking for a more DIY option, maybe we can help. Our standard photo booth setup is a constant work in progress, but we’ve learned a few tricks along the way that can help you set up a better booth with whatever gear you have.
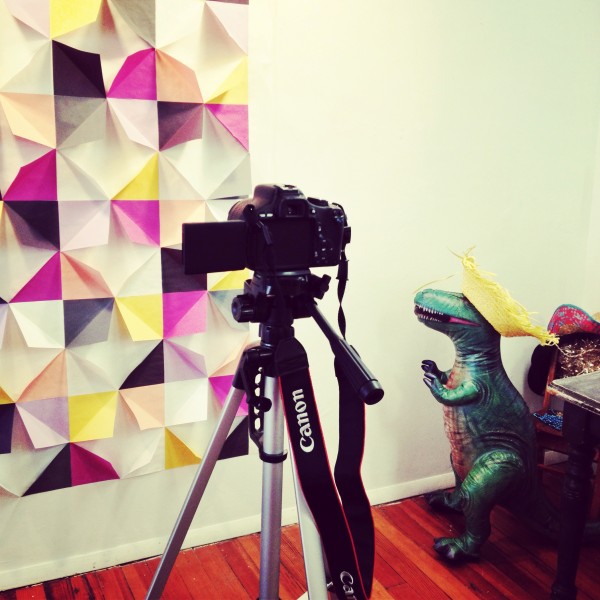
Camera: A DSLR will take higher-quality photos in whatever light you have with less risk of blurring, and will often offer remote shooting capabilities and a rotating view screen (for easier subject lineup without a separate monitor), but almost any point-and-shoot digital camera will include a self-timer feature. You’ll need a tripod or a surface on which to set your camera, and a space that hopefully has a good amount of light; avoid direct flash if you can, and everyone will look better.
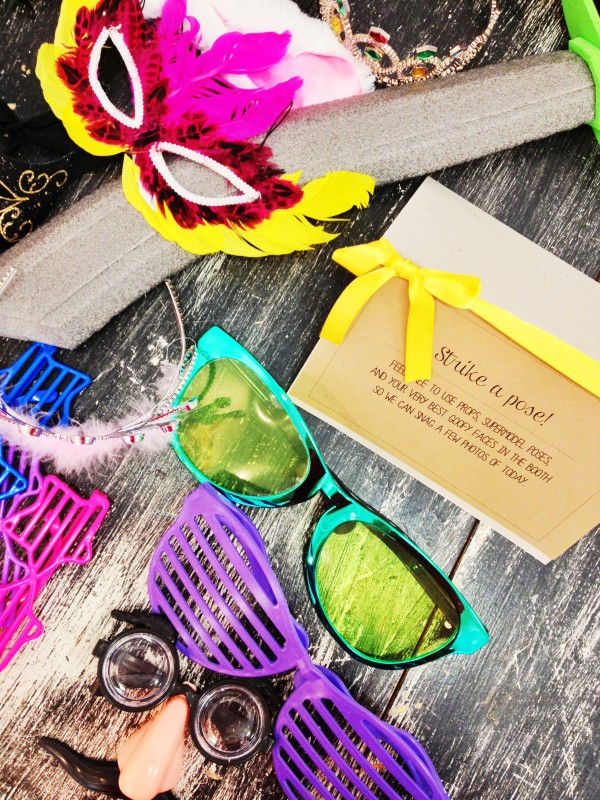
Props: Glasses, hats, masks and swords are popular items. My favorite resources are dollar stores and day-after-holiday sales. Bright colors will help photos pop, even if the subjects are wearing neutrals. Inflatable and pack-flat items are easiest to store if you plan on saving your prop collection for reuse. Props are not absolutely necessary to photo booth fun, but they do tend to pull people out of their shells and engage a crowd.
Backdrop: At minimum, a bare wall is ideal – corners and spaces out of the way work best. For NYE 2013, we bought gold wrapping paper and strung the rolls on a long curtain rod to cover a closet door. For the shower last weekend, I used large rolled paper and glued smaller squares onto it for a colorful pattern; since we were hosting at a gallery – The Independent Space – clean walls and good lighting were easy to come by. Scout Pinterest for ideas! Backdrops can be incredibly elaborate, purchased pre-made or very basic.
Setup: When using lots of props, I prefer a closer photo booth setup that forces groups to lean in – think torso shots only – but for New Years we often open things up a bit because guests are dressed to impress. Be sure to keep any cables out of the way of the shooting space, and try to keep your tripod/camera setup away from food or gift tables or other thoroughfares that might put it at risk of being bumped. Signage helps: basic instructions on what triggers your camera (remote? self timer?) will make guests much more likely to actually use the booth. If your camera doesn’t have a rotating view screen, and you’re not using a separate monitor for viewing, give guests some idea of where they should arrange themselves to fit in the shot. An extra camera battery is always a plus, or at least be sure you have your charger.
Photo Delivery: Thus far, we’ve not expanded our homemade photo booth to include printing pictures on-site, though hardware is available to make this happen. Instead, we post safe-for-public photos to Facebook, and email any outtakes to the photo subjects. For the shower booth, we’ll be uploading photos to a Shutterfly page so that guests can download or order prints of any photos they like. No matter how you deliver photos, take the time to do a quick review and make minor edits. Remove red eyes, crop, brighten – everyone loves a great picture of themselves! Tools like free, web-based Pixlr make it easy to touch things up without professional software.
Have you ever hosted a photo booth of your own? Are you tired of seeing them at events, or do they never get old?
image credits: Union Jack Creative


Genius!! I love this idea. Had to pin it to my baby shower idea board. Though I probably won’t be able to replicate on your level;)
Can’t wait to see them all! Thanks for lending us your props for our April event! The bridal party above looks quite fetching.
Pingback: Union Jack Creative – Graffiti in 3D
Pingback: Union Jack Creative – Friday Fancies
pinned this. and wishing I’d known about it back in January when someone else put herself in charge of the photo booth for the jr high semi formal this spring. Maybe for Lulu’s prom next year…
Pingback: Union Jack Creative – Stirred, Not Shaken
Pingback: Union Jack Creative – Friday Fancies: 2013 in Review