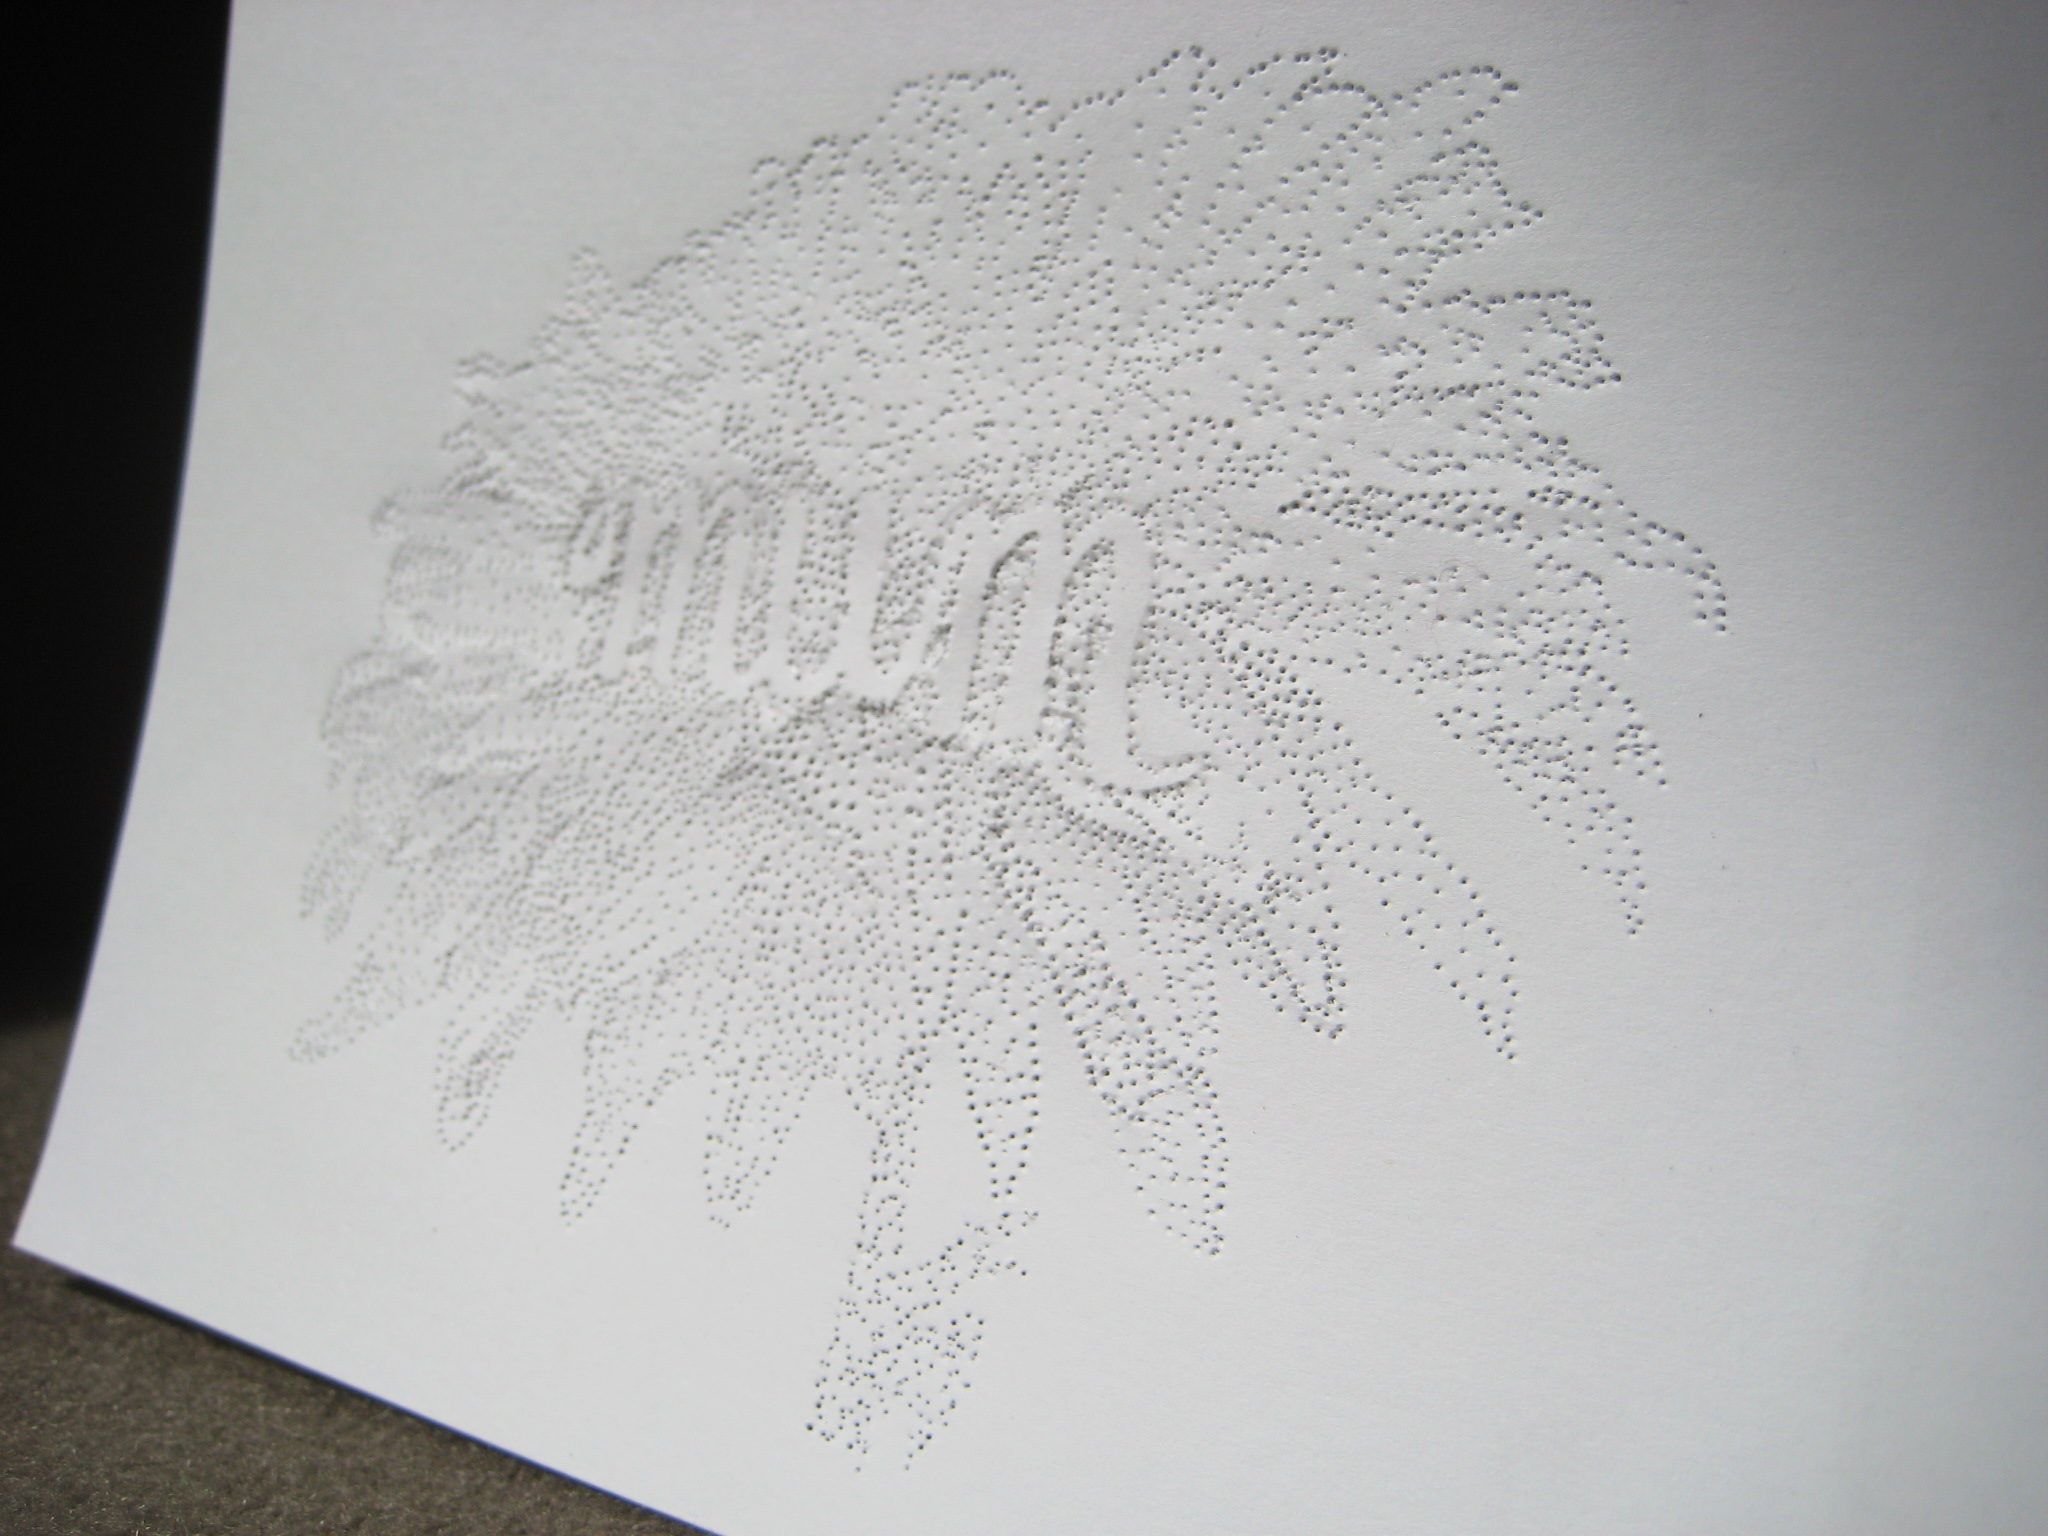
This post is admittedly a bit after-the-fact. We had grand plans of making elegant cards for all of the mothers in our lives – and then bit off more than we could chew in this project, and ended up making a watercolor version to send out instead. Though the watercolor cards were also lovely, and well-received even by my mother (a former art teacher), what follows was the initial idea and prototype, which I finally finished last weekend.
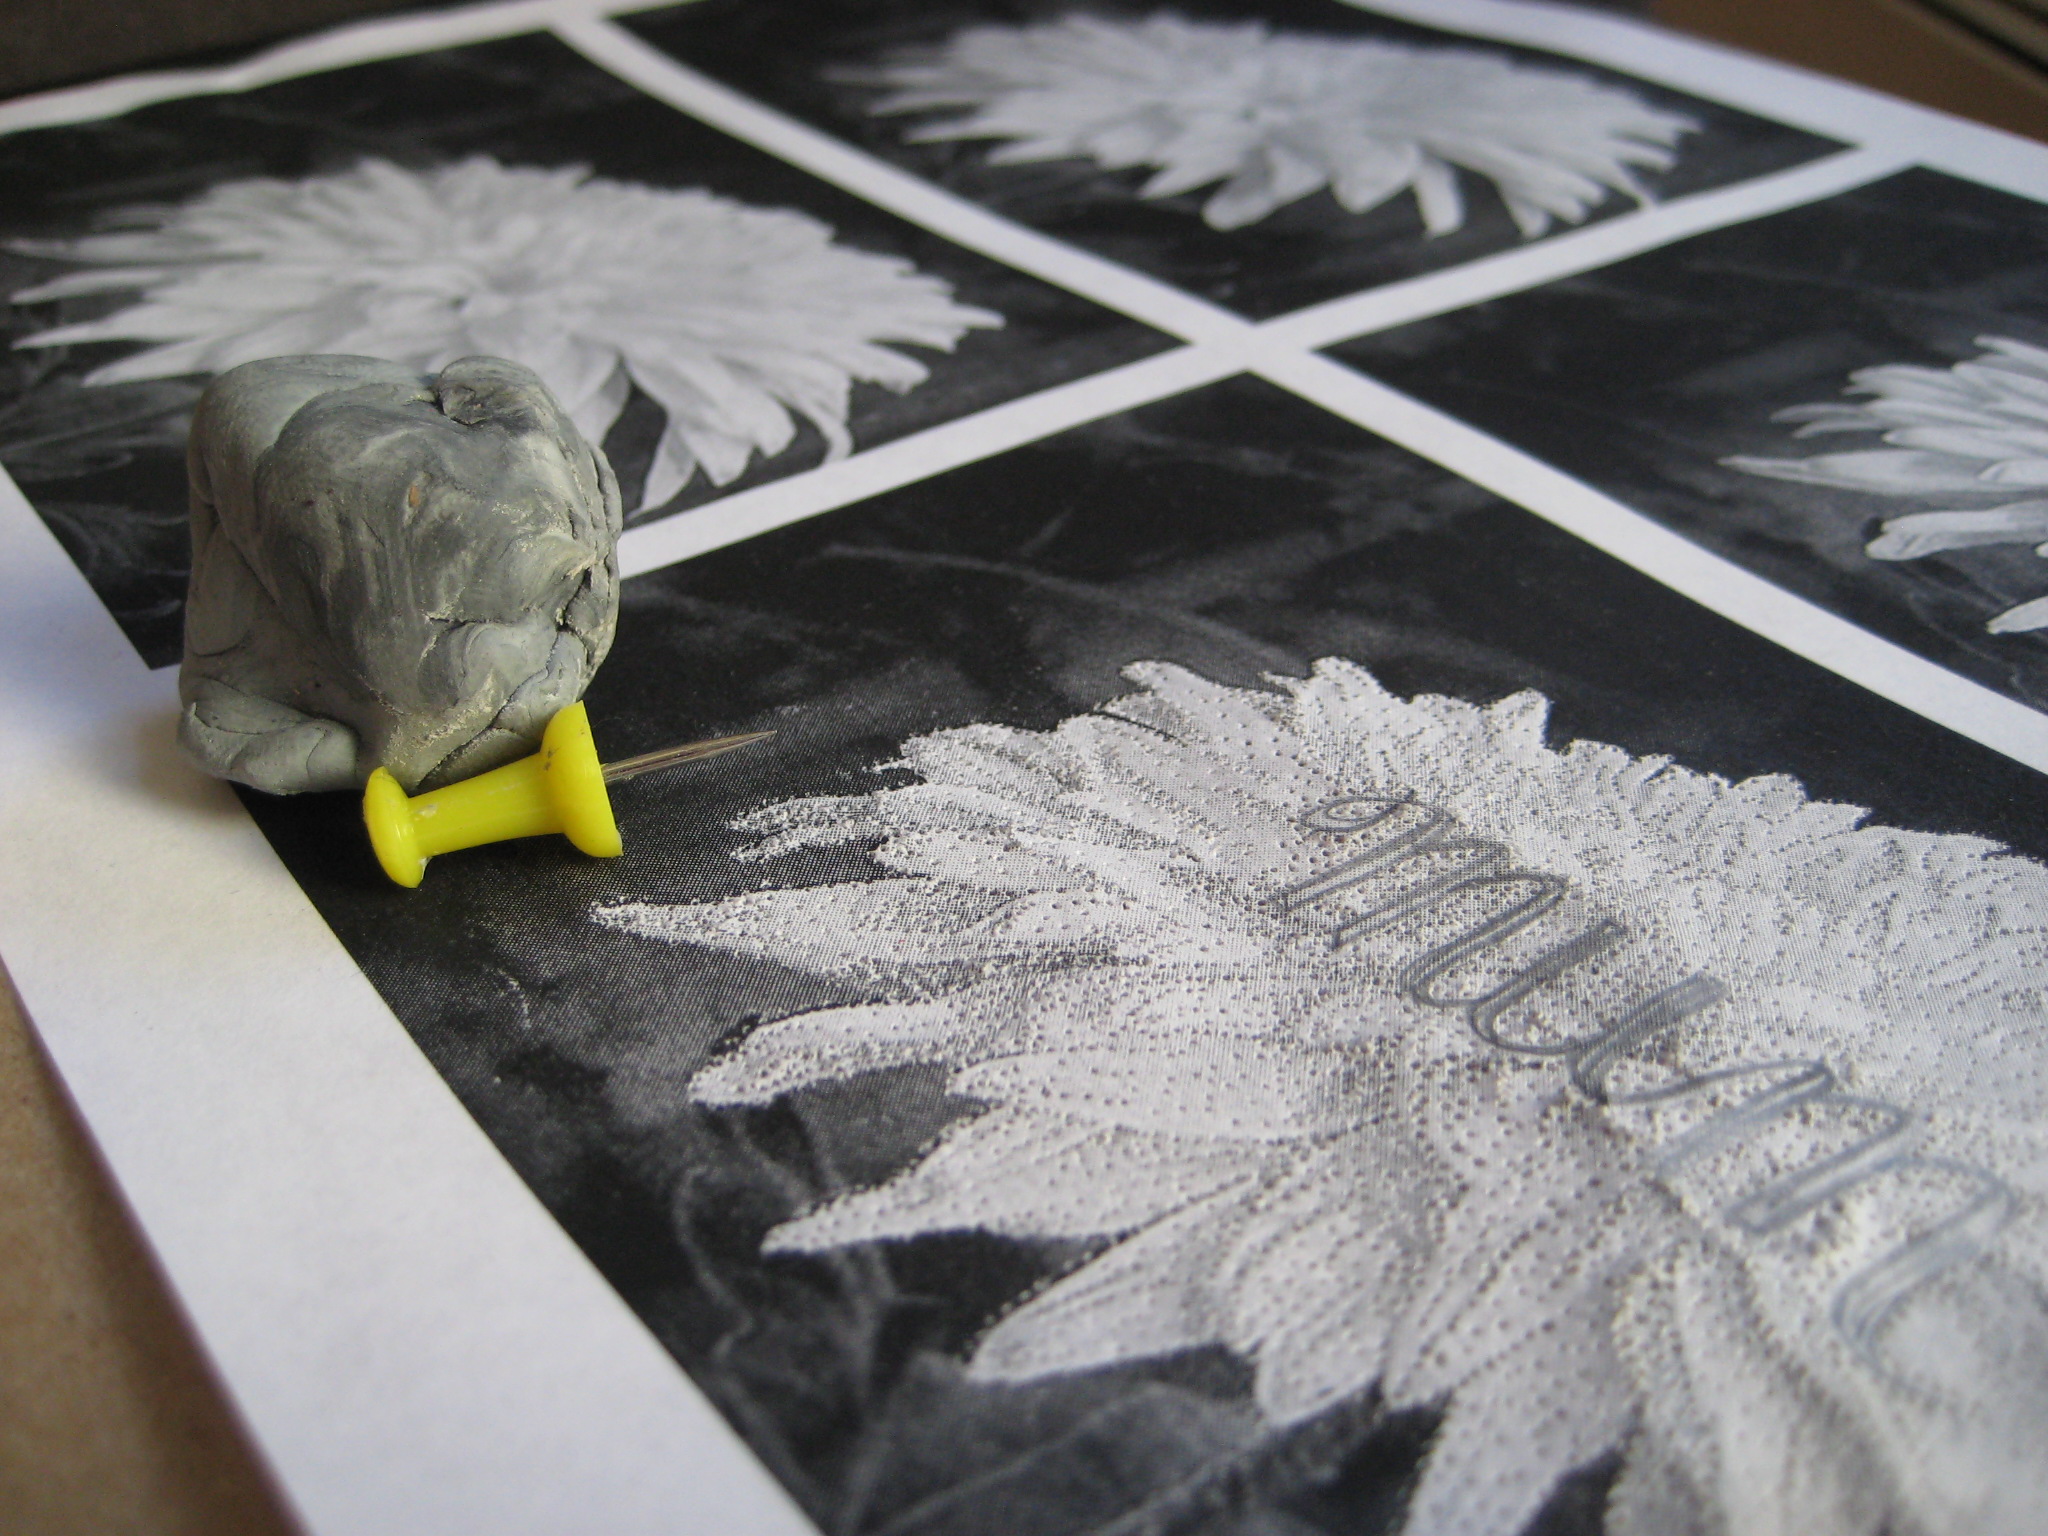
The process was not as quick as I had hoped, primarily because I was using rudimentary tools: a pushpin, wrapped in my kneaded rubber eraser to comfort my fingers a bit, was used to punch each and every hole on this card. Aside from the tedium and eventual discomfort, though, the card was a simple one to make.
To make your own, start by finding an image to transfer to your card. Since I was making a punny Mother’s Day card, I did a google image search for mums, and looked through results until I found an image that I thought might be recognizable enough to hold its own when composed entirely out of pushpin pricks. Look for images with an iconic shape or well-defined shading, and keep in mind what effect you hope to create with any text – should the image be large enough to encompass the text entirely, as my mum was? Or, will you opt to form the text with pinpricks also, or have no text at all?
Since the cardstock I had on hand was 8 1/2 x 11, and since I knew I wanted a quarter-fold card that would fit into our leftover handmade New Year’s envelopes, I printed my mum image onto 8 1/2 x 11 paper. I chose print settings that used the image four times per page, so that I knew the scaling would be correct for a quarter-fold card – and I printed in black and white, so that shading would be more noticeable as I went about poking holes in the image. If you’re feeling particularly artistic, or can’t find an image you’d like to work with, you could also sketch a design directly onto the cardstock, lightly, and erase the remaining lines when you’ve finished punching the design.
Once you’ve acquired your image, find a surface that you don’t mind getting a few holes in (I used a magazine that I had already read, but the back of a notebook or legal pad would work well too) and lay out your card. Align the cardstock beneath your image – if yours, like mine, is a quarter-fold style, make sure to use one of the bottom images, so that your card does not end up upside-down – and clip or tape the pages to your punching surface so that everything stays put while you work. Sketch any text you plan to add onto the printed image, and start poking holes!
A few tips:
- I recommend taking care to work from one side to the other, making sure not to skip over any sections along the way.
- Pay special attention to darker areas on the image, and poke holes more closely together in these areas to create the same effect on your card.
- Be sure to punch out any outlines (in my case, the petals) to help add definition to the image.
- Difficult as it may be, things will hold together much more nicely if you don’t give in to the temptation to peek!
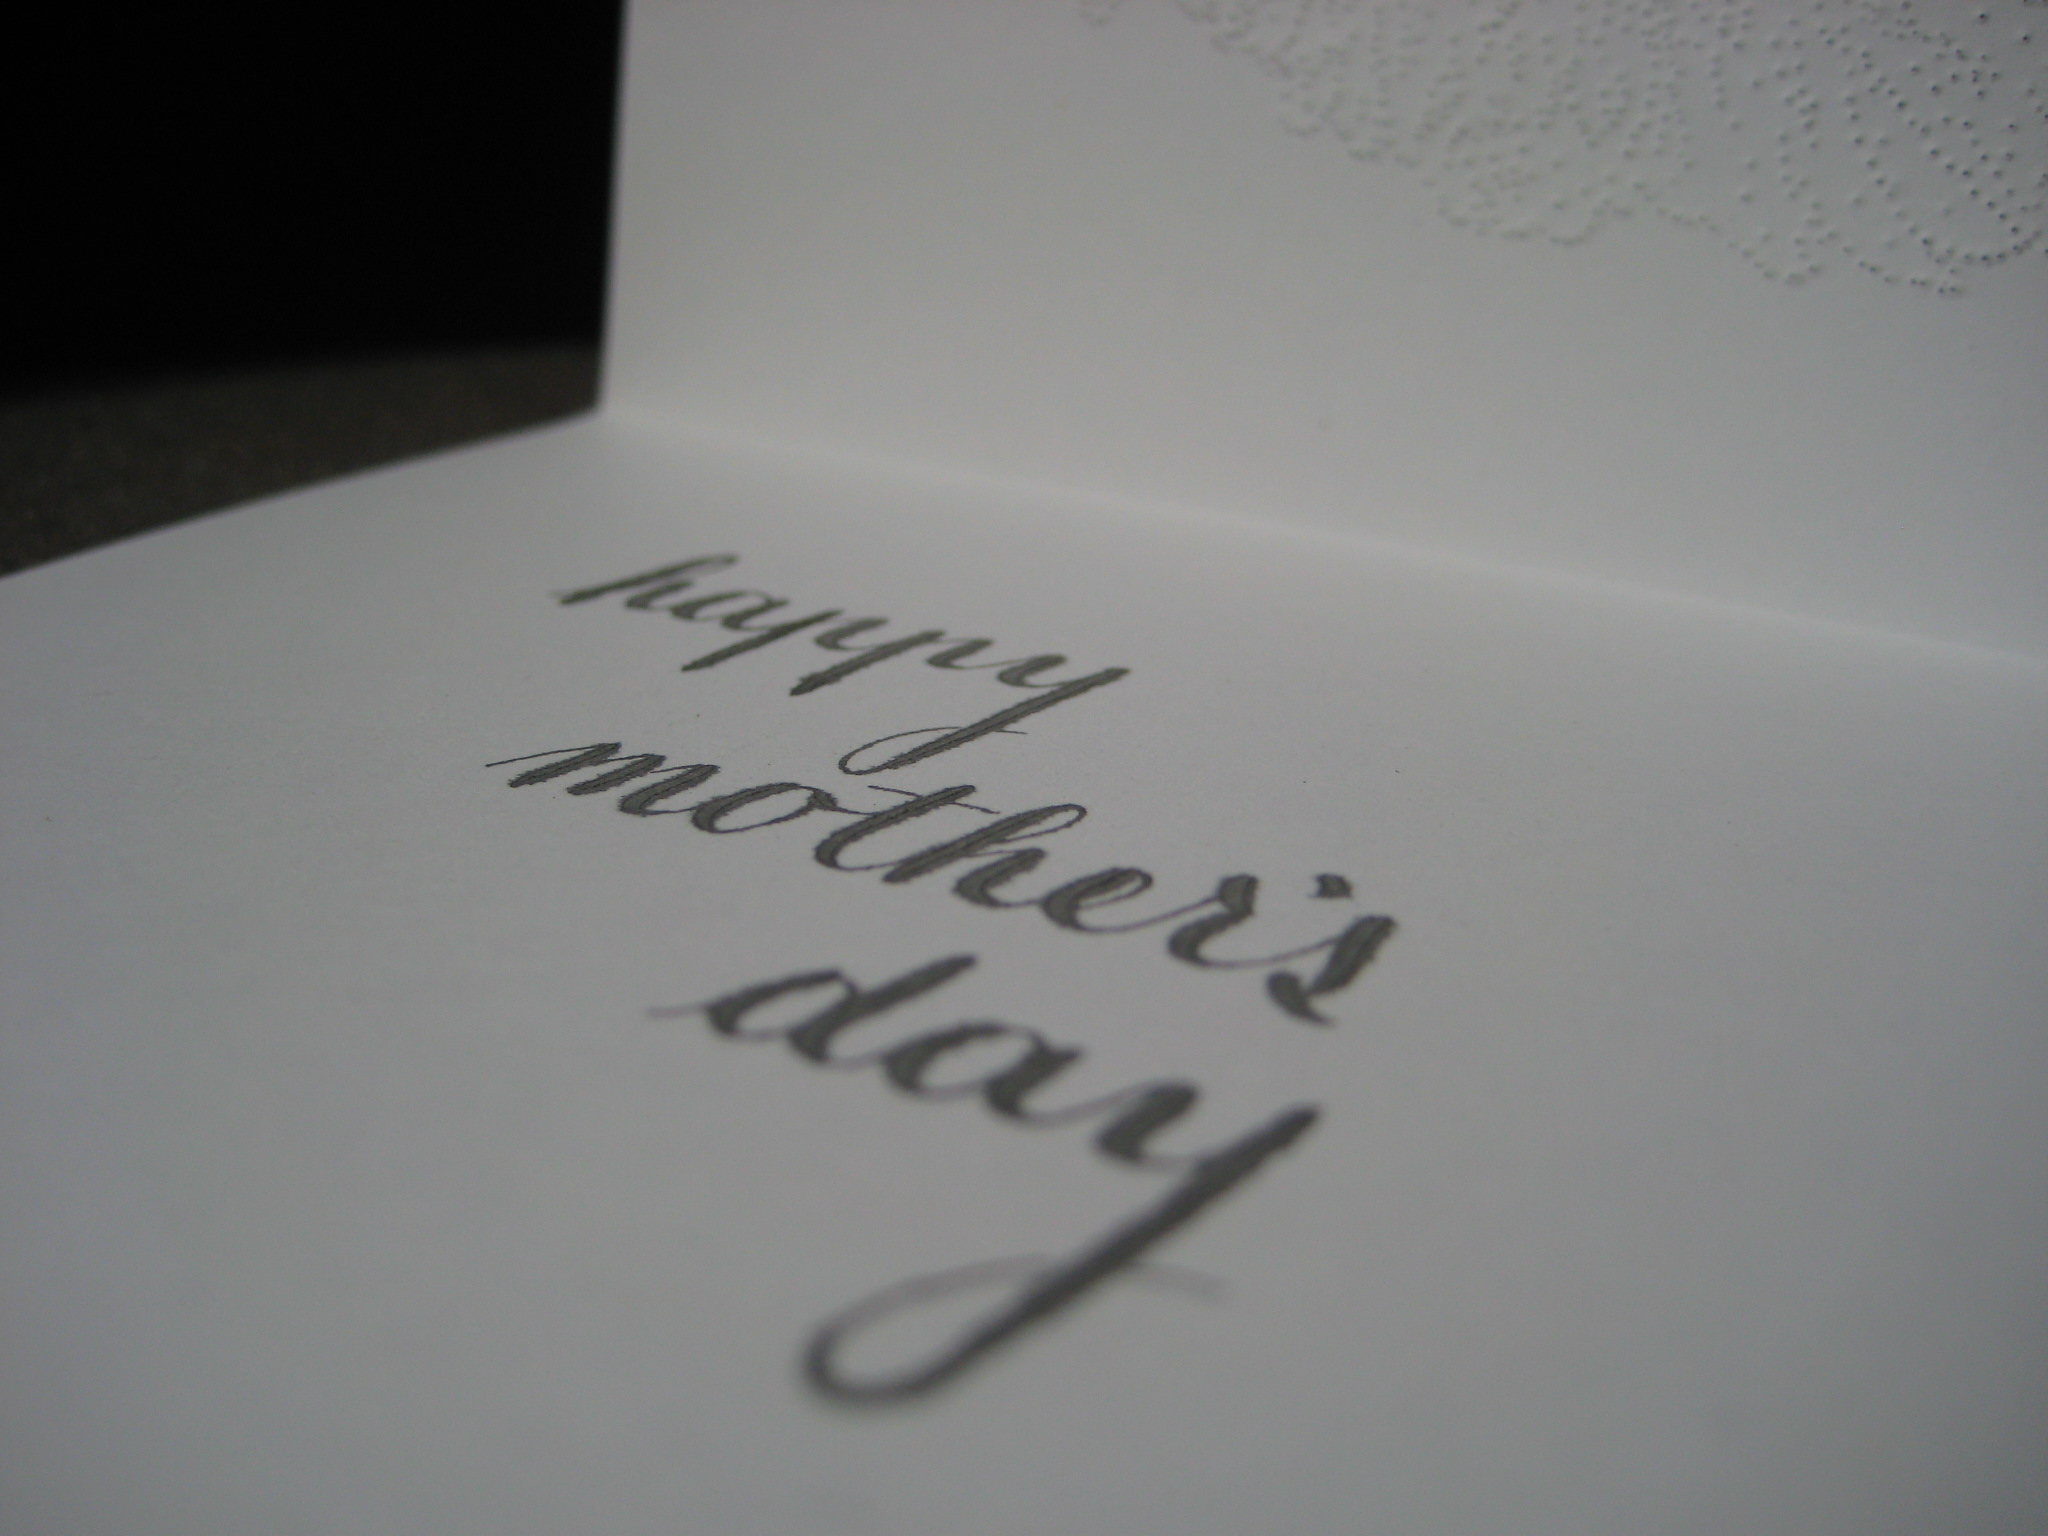
When I (finally!) finished punching out the entirety of the mum, I simply unclipped the printed image, used a paper cutter to cut the cardstock in half horizontally, and folded the resulting sheet in half to form my quarter-fold card. I opted to letter “happy mother’s day” in each card we sent out, before writing an additional note to each woman.
Be warned: due to the tedious nature of this process, this is not a technique for producing a slew of cards for the holidays! It was, however, an interesting side project and would make for lovely one-off cards for very special people. Would you give it a try? Let us know if you do – we would love to see what you come up with!


Pingback: Tweets that mention Mums for Mums: A Hand-Punched How-To | Union Jack Creative -- Topsy.com
Pingback: Union Jack Creative – Fly Me to the Moon